Each person maintains their own unique conception about How to Install a One-Piece Shower Unit.
A successful shower setup needs cautious planning and a lot of work. Most of the times, you will require to do three sorts of tasks: framing wall surfaces, installing the plumbing, and completing wall surfaces.
Preparation
First of all, you should pick the type of shower that you wish to set up. It is essential to establish whether the selected shower is capable of dealing with certain systems and also can control a safe degree of water through the central heating boiler. A lot of shower devices nowadays are developed to be versatile to various water stress (such as kept hot water as well as cold keys).
It is also essential to think about the water stress and also the preparation of the piping as well as drainage for the shower
Different Types of Shower Units
- Push-on Mixer: The hose as well as spray parts of the push-on mixer shower unit can be attached to the bathroom faucet based on your need, and the water temperature can be changed using the faucets. Push-on mixers are cheap and also very easy to mount. However, although the pipe link is basic, it is quickly displaced. In addition, it is troublesome to readjust the temperature.
- Bath/Shower Mixer: The pipe and also spray of this type of shower are combined with a bath mixer tap, as well as the temperature can be readjusted through the bath taps. It is a very economical option and no extra plumbing is included. However, the bath/shower mixers additionally suffer from inconvenient temperature level control alternatives.
- Guidebook Mixer: The tube and spray of a hand-operated mixer shower unit belong of the wall device and the hot and cold water materials are linked to a single shutoff The temperature level as well as stress of the water are controlled via either one or a range of handles (in more pricey showers). Although temperature level control is a lot easier in hands-on mixer kinds, they are much more expensive than the formerly stated mixers. They additionally require added plumbing of hot and cold water pipes.
- Thermostatic Mixer: The pipe and spray of this shower kind belong of the wall device as well as the cold and hot water supplies are connected to a single valve right here too. It is complete with an integrated stabiliser to self-adjust the water temperature level as well as to stop it from coming to be as well hot. Among the biggest advantages of a thermostatic mixer shower kind consists of practical temperature level control. However, it is one of the most expensive of the different mixer choices.
- Power Shower: A power shower is a single system including an effective electrical pump that is capable of modifying both the water stress and temperature level. This kind of shower can be fitted if there is water supply from a cold water tank and also a hot water cyndrical tube. A power shower makes the change of both pressure and temperature simple. On the other hand, it is unsuitable for water heated directly by the shower or where the water is provided by a mix central heating boiler under keys stress.
- Electric Shower: An electrical shower is plumbed right into a mains cold water supply and it heats up the water electrically. It is important to keep in mind that for this shower kind to be mounted, the mains pressure needs to be at the very least 0.7 kg/sq cm (10lb/sq in). The system permits the temperature and stress to be adjusted by means of a knob. Models with temperature stabilisers are better as they remain untouched by other taps somewhere else in operation within the family. A major downside of electric showers is that the control handle just enables the option of heats at much less pressure, or reduced temperature levels at a higher pressure. This is bothersome in the winter season when the spray is usually weak and the keys water is colder. Nevertheless, this problem is tackled in some designs which are available with a winter/summer setup.
Technique
Depending on the sort of shower you want to mount, the shower head should either be fitted in order to prevent its contact with the water in the bath listed below or the base tray, or it has to have a check valve.
Before beginning, it is suggested to note the settings of the shower head as well as control, and also to prepare the pipe-work involved. Additionally, the drain system to eliminate the waste water will certainly need to be planned. Both placements of the wire path and also the shower button will certainly additionally need to be considered if an immediate or electric shower system is being set up.
Make use of the direction guide provided with the shower system to fit the shower control.Before fitting the pipelines that will supply the water to the shower system, it is necessary to remove the water supply. In order to shield the pipes, they ought to be offered a water-proof covering as well as also fitted with isolating shutoffs. The pipes can after that be buried right into the wall surface and smudged over to neaten the general look.
Fit the base tray, shower head, as well as fittings.
Link the major shower control to the pipelines that will certainly be supplying the water (This may require a women screw string adapter).
Reconnect the water system and test the pipelines for any type of leaks, as some might require tightening.
If you are mounting an electric shower, bear in mind to turn off the electricity supply before making any electric links. When these links have actually been made (there ought to be assistance within the user's manual), the power supply can be changed back on.
Readjusting Water Stress to Fit Your Shower
The cold water tank can be lifted to a higher elevation (occasionally just 150mm (6inches)) by installation a solid wooden support under it - potentially made up of struts and blockboards. If you select this alternative, the main as well as circulation pipes will certainly likewise have to be elevated to fulfill the new elevation of the reservoir.
Conversely, a booster pump (a solitary pump or a dual/twin pump) can be fitted. Whichever type is selected, it needs to be connected into the power supply in order to run.
Piping as well as Drain
It is best to use 15mm diameter supply pipes, and make the runs to the shower as short and straight as feasible so as to keep maximum pressure and also reduce heat loss. Additionally, by minimising making use of elbows for pipe edges, you can lower the resistance in the circulation of the water. You can achieve this by flexing the pipelines instead.
Many Common Mistakes
- Violating or overlooking regional code limitations.
- Using pipes that are also tiny.
- Connecting copper to galvanized without making use of a brass or dielectric suitable in between the two.
- Not using tape or pipe compound at threaded joints.
- Not leveling your components when mounting them.
- Not installing an air gap filling for components.
- Reducing supply stub outs as well brief to set up the shutoff valves onto after the finished wall is in area.
- Not effectively aligning tubing right into installations or quit valves. (Forcing the nut onto the compression ring at an angle when the tubing goes to an angle will certainly cause a leak.).
- When transforming the water back on in your house, constantly run the outside hose valve or flush your toilets to bleed dust and also air from the lines. This debris can cause troubles in your sink taps and other plumbing trim.
Most Popular Shower Enclosure Options to Upgrade Your Bathroom
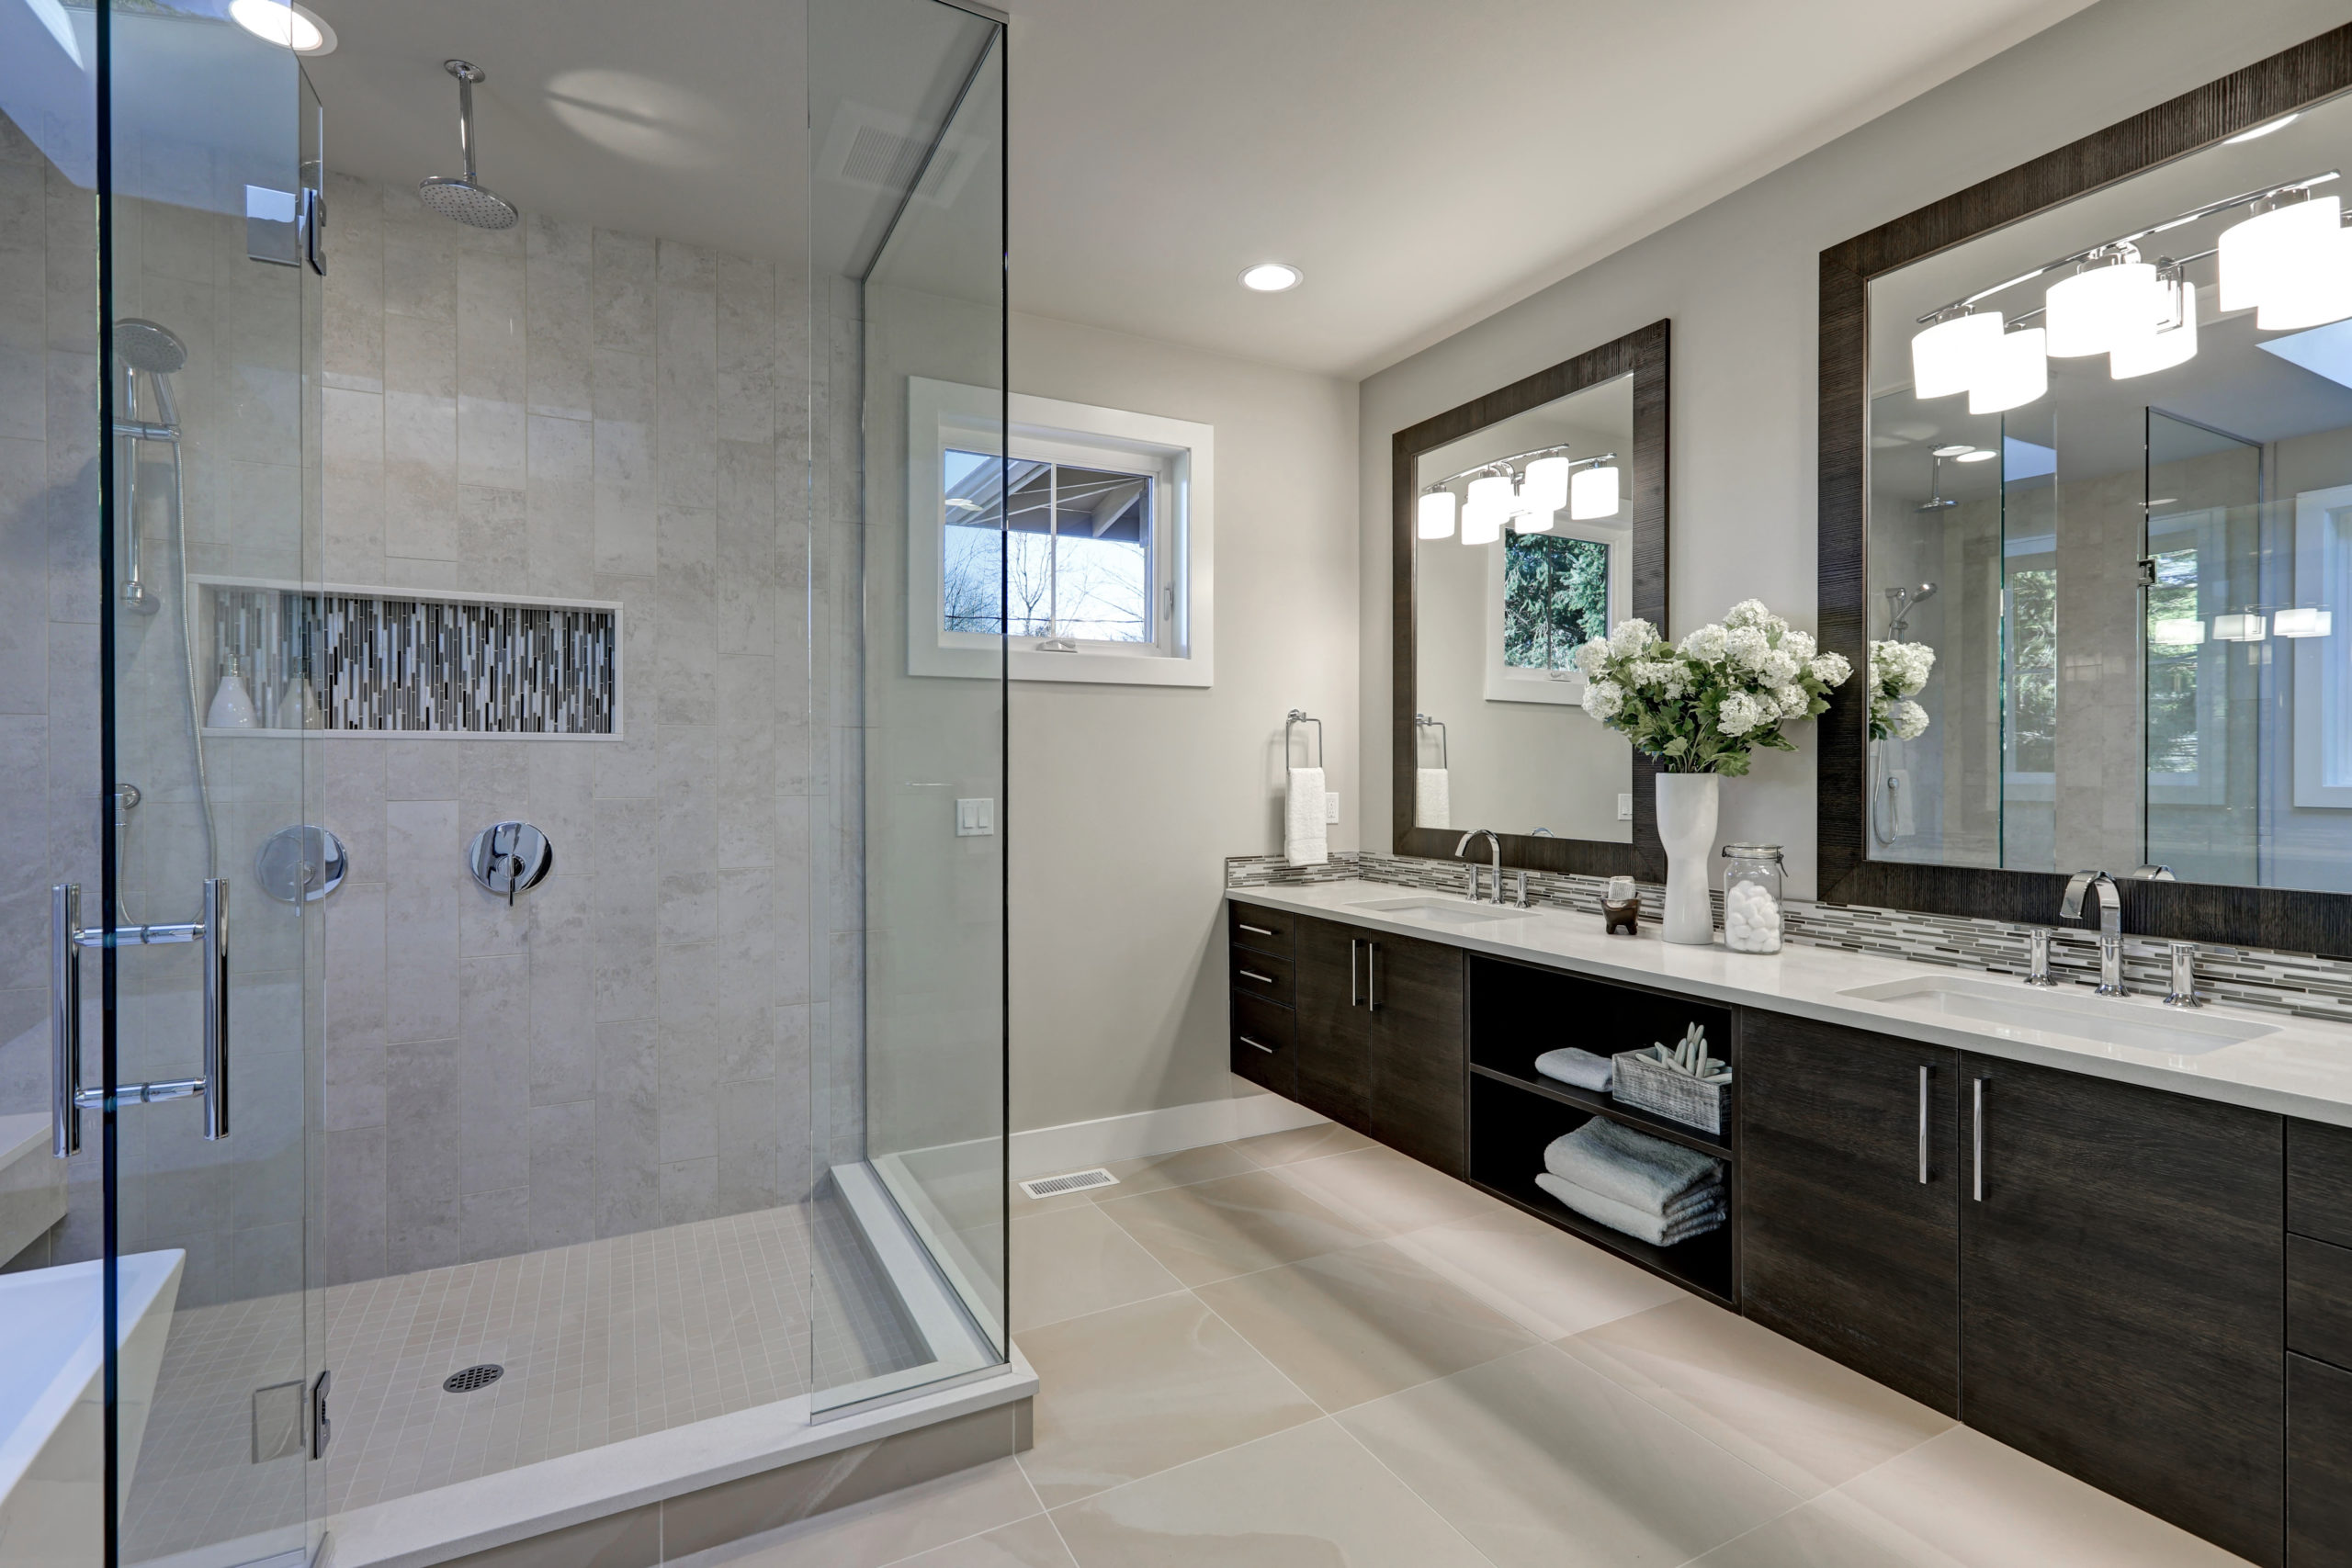
Frameless Shower Enclosures
Switching to a frameless shower enclosure can instantly add a modern feel to your bathroom. This type of shower enclosure eliminates the visual obstruction of frames, providing a seamless flow using fully customisable glass.
Since they are fully customisable, it fits all sizes and shapes of your bathroom space. You can also design it in a way suitable for an expansive spa shower.
In-line Shower Options
Another popular shower enclosure option you can use to upgrade your bathroom is an in-line shower. This type of shower installs a shower glass in-line with an adjacent wall, keeping water within the shower area.
You can have two options for in-line showers: hinged doors and sliding doors. An in-line shower with hinged doors allows you to have one glass shower door mounted on one side and open the door outwards. Meanwhile, in-line showers with sliding doors will enable you to save space but are more expensive.
Semi-Frameless Shower Enclosures
The semi-frameless shower enclosure is also an excellent shower enclosure option as it reduces the possibility of mould. Since the glass door is frameless, there’s no way soap and water will be stuck on it. But to ensure that there’s no way for mould to flourish in your bathroom, choose frameless shower enclosures instead.
Semi-frameless shower enclosures are the ideal choice if you adore the design of frameless showers but would prefer a more affordable solution. These types of shower enclosures have a range of options available by the glass manufacturing process in accordance with various height specifications.
You can also customise this type of shower enclosure. However, your options might be limited because of the standard sizes and heights.
Glass Block Shower Enclosure
If you don’t want a bathroom door and walk-in glass shower enclosures are not an option either, a glass block shower enclosure is for you. Glass blocks will allow your bathroom to access maximum daylight while having the privacy it offers. Also, glass block enclosures might require a bit more effort to clean than other enclosures, but they are durable and versatile options.
You can also be creative when using glass blocks for your bathroom. Since this type of shower enclosure is made of small glass blocks, you can easily create a unique shower enclosure shape. There are many options for thickness, styles, and colours, too.
Final Thoughts
Upgrading your bathroom with a new shower enclosure is a great way to add value to your home. Not only will it appear nice, but it will also be more functional and efficient. When choosing a shower enclosure, pick one that fits the style of your bathroom and your budget. It’s also paramount to take note of the pros and cons of each type before installation to ensure you don’t miss anything important.
https://gharpedia.com/blog/shower-enclosure-to-upgrade-bathroom/
Hopefully you enjoyed our post on How to Install a Freestand. Thanks for taking the time to browse our blog. Sharing is caring. Helping people is fun. Bless you for your time. Visit us again soon.
Detail
Comments on “Efficient and Easy Installation of a New Shower Unit”